Best Way to Organize Your Class Reunion on Facebook
PayIt2 makes collecting money simple, secure, and organized.
Yes, you read that right. There is a best way to organize a class reunion on Facebook. You’re looking at it.
Use PayIt2 to organize your class reunion on Facebook, and you’ll be looking like Class President material. Prom King or Queen, even. Now they’ll know what they were missing out on.
You don’t need to be nominated to get started, just follow these simple steps. Who’s "Most Likely to Organize Class Reunions"? You are.
Step 1: Set Up a Facebook Page for your Class
Consider this the lunchroom. Your Facebook Page will serve as the command center of the social scene of your class. When you, your co-organizers, or classmates publish information to the page’s wall, classmates who liked your page will see the status updates in their newsfeed. Don’t show off too much with the name, keeping it simple will make it easier for your classmates to find you in their search. Try something like: Payit High Class of 1994.
While you’re busy building your virtual stomping grounds, invite a few classmates to be administrators of the page with you. A little help can’t hurt, right?
Step 2: Set Up a Facebook Event for your reunion from your new Facebook Page
Now comes the fun part, the party! Creating a Facebook Event builds anticipation for your reunion, kind of like whispers of Stacy’s parents being out of town did back in high school. Name it something simple like Payit High Class of 1994 20th Reunion. Invite your classmates to join the Facebook event to connect them to information about the When and Where’s, as well as an exclusive invite to the PayIt2 account page you’ll be making in Step 3.
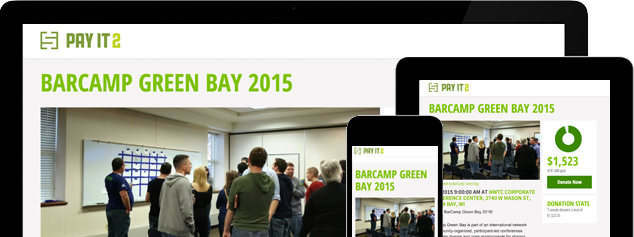
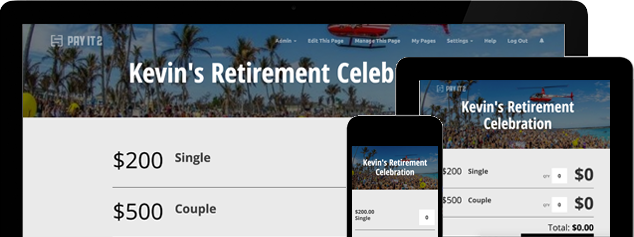
Step 3: Setup a PayIt2 page to collect money and information about attendees
Now is the moment all you cool kids have been waiting for...creating your Pay It 2 page.
Start by logging in, or signing up if you haven’t already. Then, click Get Started or Create New Page. Select "Event" as your Page Type.
Here you’ll be able to personalize your page. Here’s what’s on your to-do list:
- Add basic information: Title, Time, Location, Etc. (If you don’t have this info yet, no problem, you can always come back and add details later)
- Add a picture and pick a color scheme.
- Add collect options. Here’s where you’ll create exactly what attendees will be paying for. Add what they’ll be paying for, (Ticket, Open Bar Wristband, etc.) and how much it will cost. Also, check out the Additional Options offered on this page. You can specify whether attendees can bring guests and set a deadline for registration. Here you can also add custom questions, where you can ask for T-shirt sizes, dinner menu choices, and other information.
Be sure to click SAVE. Now click "View Page". There you have it, your PayIt2 page.
Step 4: Post a link to the Collect Page tab on your Reunion Event Timeline
Keep in mind that your classmates might not be as party planning savvy as you are. Be a friend and post a status update to the Payit High Class of 1994 Reunion event timeline to help them out. Make sure to include a link to the event page to the PayIt2 tool you added to your Payit High Class of 1994 page.
There you have it, your very own PayIt2 class reunion page. You deserve a virtual nomination for both Class President and Prom King/Queen.
Go ahead and tell those who doubted you... Eat. My. Shorts
Ready to get started?
Setting up an account is quick, easy and free.